
Changing your motorcycle’s engine oil is one of the most fundamental maintenance tasks you can perform. It’s crucial for the longevity and performance of your engine, ensuring smooth operation and preventing costly damage. While it might seem daunting at first, it’s a straightforward process that anyone can learn.
Here’s a simple guide to changing your engine oil the right way.
Before you begin, gather all your supplies. Having everything ready will make the process much smoother.
Follow these steps carefully for a successful oil change.
Ride your motorcycle for about 5-10 minutes, or let it idle until it reaches operating temperature. Warm oil flows more easily, carrying more contaminants with it.
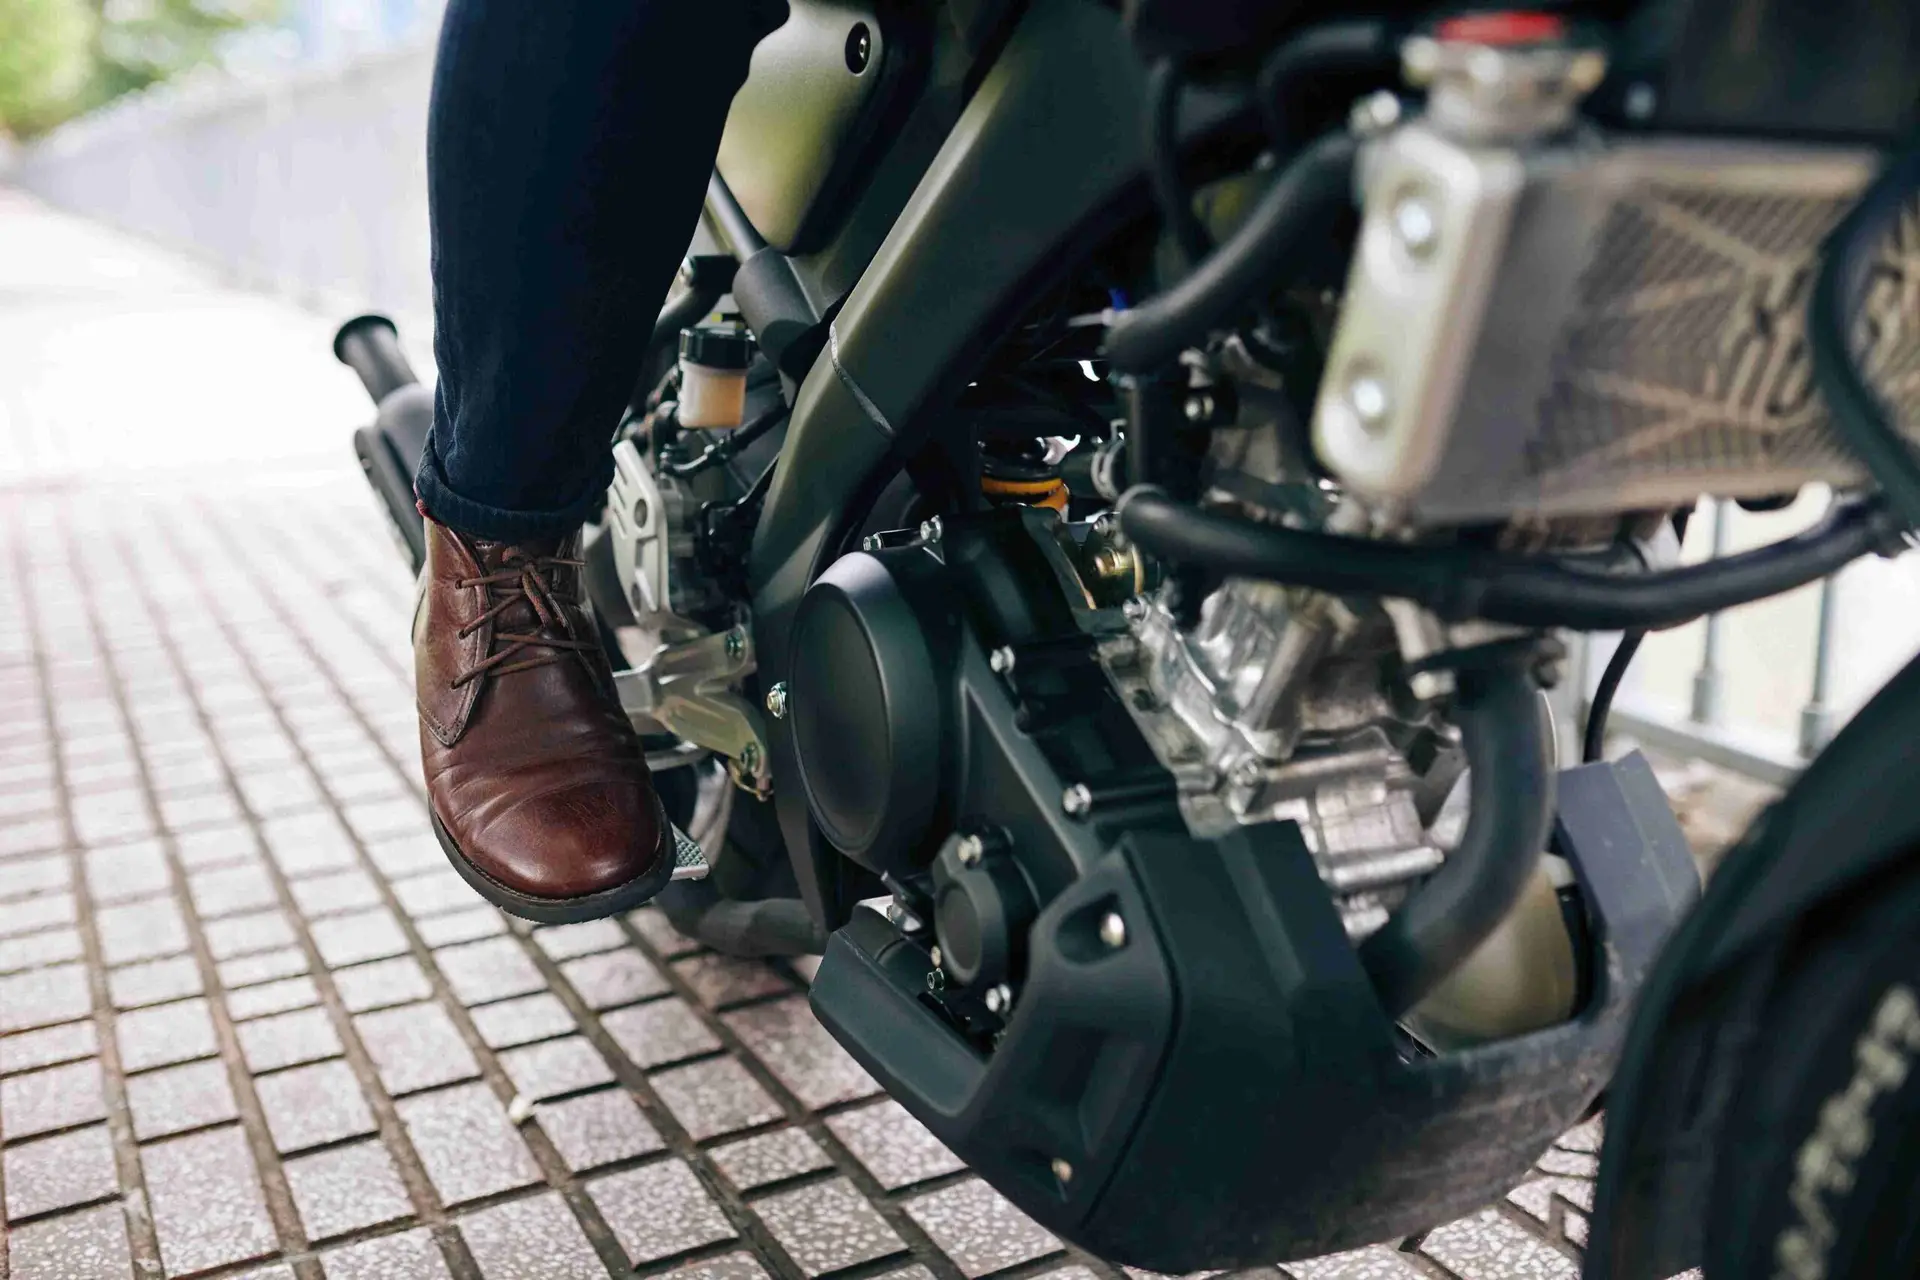
Place your motorcycle on a stable, level surface, ideally using a center stand or a paddock stand to keep it upright. Position the drain pan directly underneath the engine’s drain bolt.
Using the correct wrench or socket, carefully loosen the drain bolt. Be prepared for the oil to start flowing immediately once the bolt is loose. Be cautious, the oil will be hot! Let all the old oil drain completely. This can take several minutes.
Many drain bolts have a crush washer that should be replaced with a new one every time to ensure a good seal and prevent leaks. Once the oil has fully drained, clean the drain bolt and reinstall it. Use your torque wrench to tighten it to the specification found in your owner’s manual. Do not overtighten, as this can strip the threads.
Locate the oil filter. Depending on your bike, you might need an oil filter wrench to remove it. Once loosened, unscrew it by hand. Be aware that more oil will likely spill out from the filter housing, so have your drain pan ready.
Before installing the new filter, apply a thin film of new engine oil to the rubber gasket on the new filter. This helps create a better seal. Screw the new filter on by hand until it’s snug. Many filters have instructions on how much more to tighten it (e.g., “turn 1/4 turn after gasket contact”). Again, consult your manual for torque specs if available.
Using a funnel, carefully pour the new engine oil into the oil filler opening. Refer to your owner’s manual for the exact oil capacity. Start by adding slightly less than the full amount, as some old oil might still be in the engine.
Once the oil is in, start the engine and let it idle for a minute or two. This allows the new oil to circulate through the filter and engine. Turn off the engine and wait a few minutes for the oil to settle.
Now, check the oil level using the dipstick or sight glass, depending on your motorcycle. (Note: Many bikes need to be level, not on the side stand, for an accurate reading). Add more oil gradually if needed, checking the level frequently, until it reaches the “full” or “max” mark. Do not overfill.
Maecenas iaculis pharetra nunc sit amet malesuada. Nulla facilisi. Fusce molestie at libero at ultricies. Suspendisse iaculis orci quam, at iaculis nisl dapibus eget. Quisque quis aliquet nisl, maximus viverra ligula. Sed erat elit, luctus id pulvinar quis, consectetur vitae ex
Darrel Wilson
Never pour used engine oil down the drain or into the ground. It’s a hazardous waste. Most auto parts stores or service centers will accept used oil for recycling. Store it in a sealed container until you can properly dispose of it.
Changing your motorcycle’s engine oil is a simple yet vital task that empowers you to take control of your bike’s maintenance. By following these steps, you’ll ensure your engine runs smoothly, efficiently, and powerfully for many miles to come. Regular oil changes are the heartbeat of a healthy motorcycle!
Do you have any tips or tricks for changing motorcycle oil? Share them in the comments below!